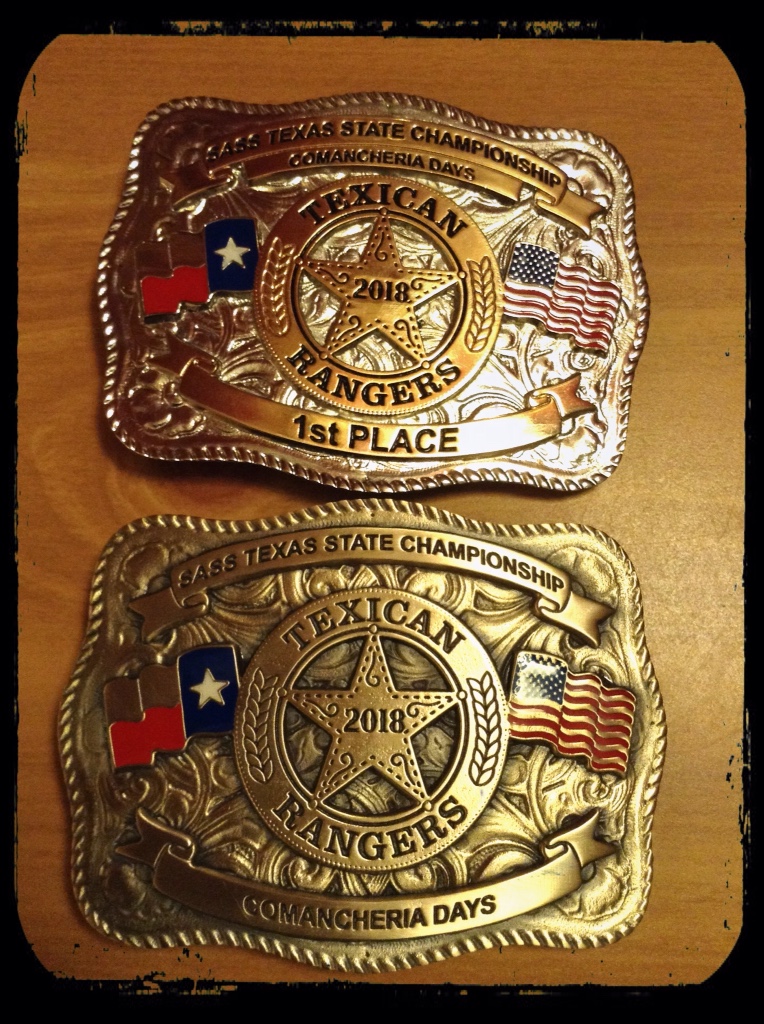
What a sensational weekend with the Texican Rangers for Comancheria Days 2018, Texas State Championships.
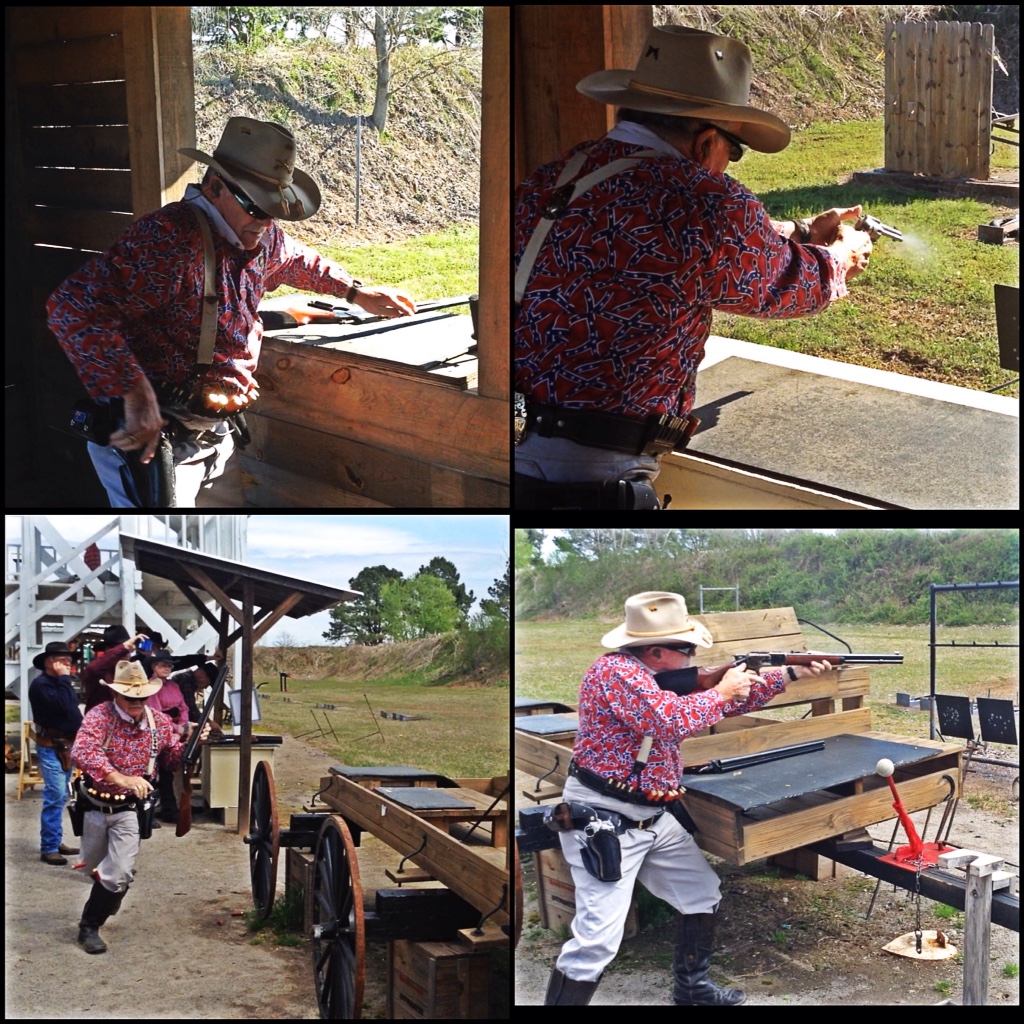
Thursday was met with fine and glorious weather. We shot 4 stages of Wild Bunch and then cowboy side matches including the ever entertaining 'Blazing Saddles'.
Jack finished 8th overall in Wild Bunch and I was 15th overall.
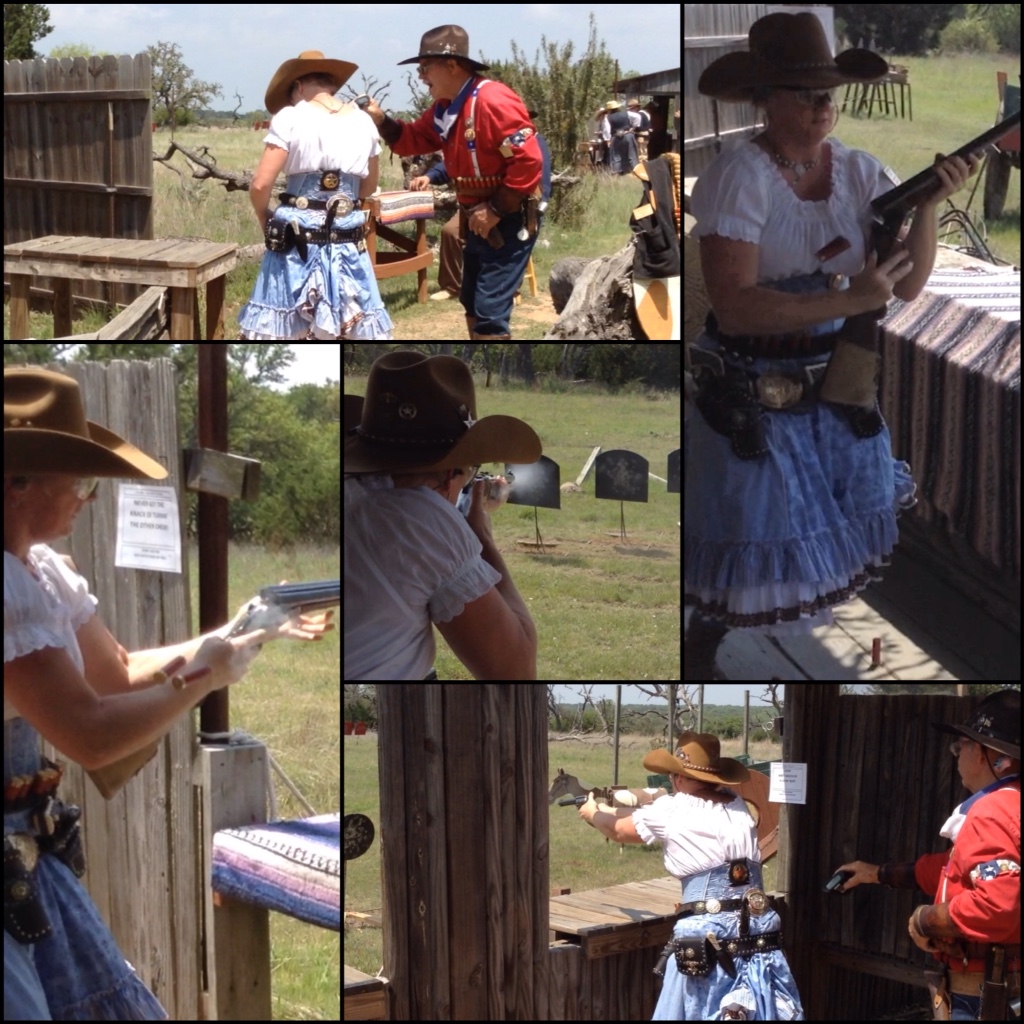
Friday we were on the late shift and the weather again proved to be fairly warm with a moderate breeze. Shooting stages 7, 8, 9, 10, then 6. It was all over and both Jack and I had finished clean for the day.

Catch ups, drinks and eating BBQ dinner at the range that night with side matches. It was still quite warm and there was a good turn out.
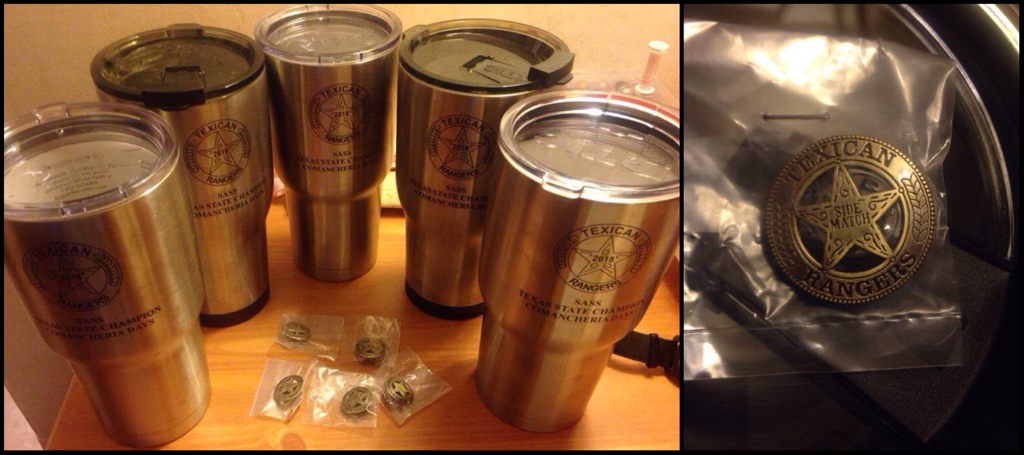
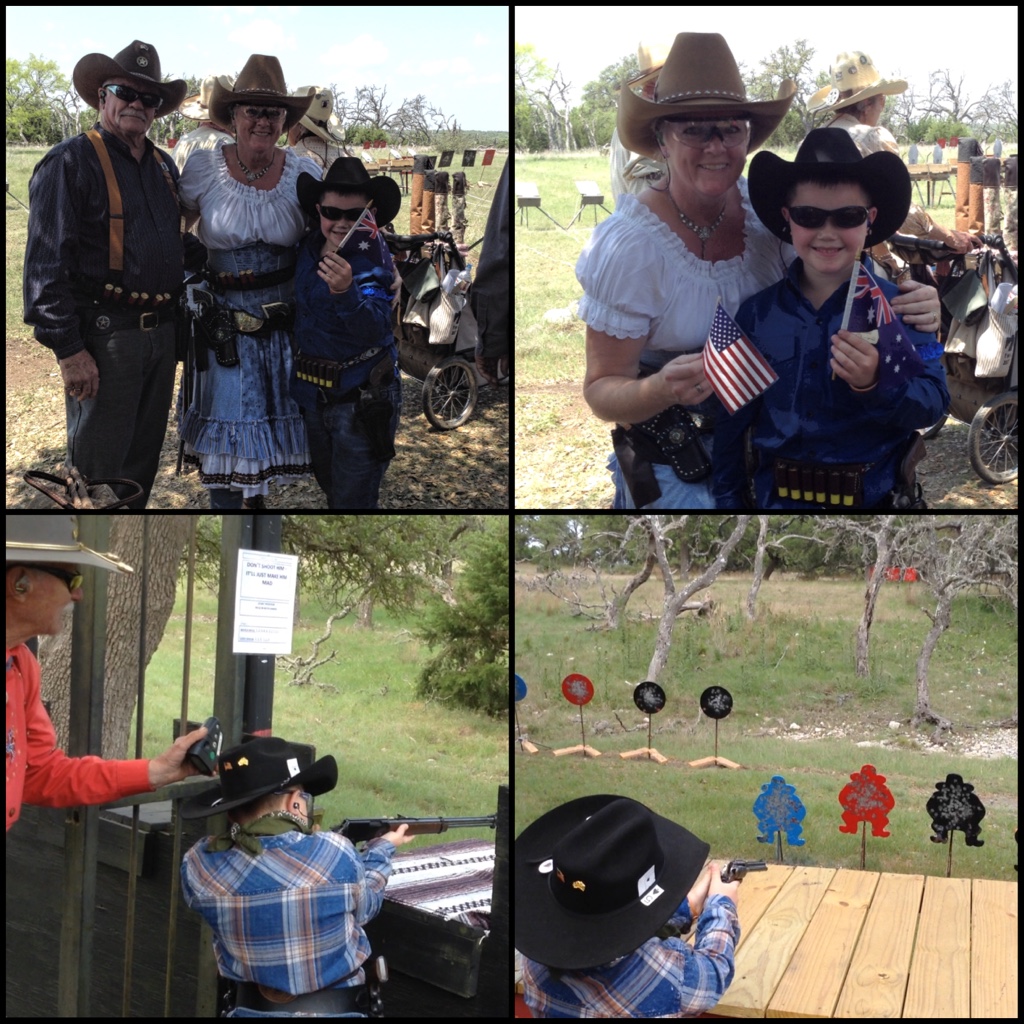
I won a few side matches and decided that even sharing with Jack, I didn't need all the cups I won. My new little mate, Givem Hale was going to get one when I saw him Saturday. That kid just pulled at my heart strings for sure!
Our shooters on Posse 14, made up of none other than Tex, Cat Ballou, Chee-ee, Toothache, Texas Mac, Texas Flower, Brett Cantrell, Wild Sage, Ramblin Rose, Mad Dog Too, Ranger Tays, Abilene, Little Bowly, our Posse Marshal – Bootstrap Richard, Mysterious Mc Rae, my new little gem – Givem Hale, Jackaroo and myself. Thanks to Mindy (Givem's Mom) for keeping score for us all weekend!
At times I have attracted 'small gems' as I like to phrase it and Friday when I heard this sweet little voice ask Tex (and you really couldn't get any better than one of the youngest asking one of the founding SASS members!!!!) 'is this Posse 14 sir?' And Tex obliging in telling him it was and if sure was to be on it then he had found the right place. To which an answer of 'yes sir I am' followed.
My head spun and my heart did a backflip when I heard it and I headed over to say hello and find out just how old this little man was. He is 8! Givem Hale is his alias, I love it! and all the while we spoke he had his hat off across his chest and it was yes ma'am, no ma'am, pleased to meet you and all. That kid had me wrapped around his little finger straight away. ❤
I went back and told Jack how sweet he was and headed straight back over to give him an Australian hat pin, his first on his new hat. Might I add right now, Givem has only been shooting for 4 and a half weeks and I think everyone on our posse was amazed at how this young man was shooting his .32 pistols, a .22 rifle and ….. Wait for it…. A 20 gauge single shot shotgun. We were all in awe!

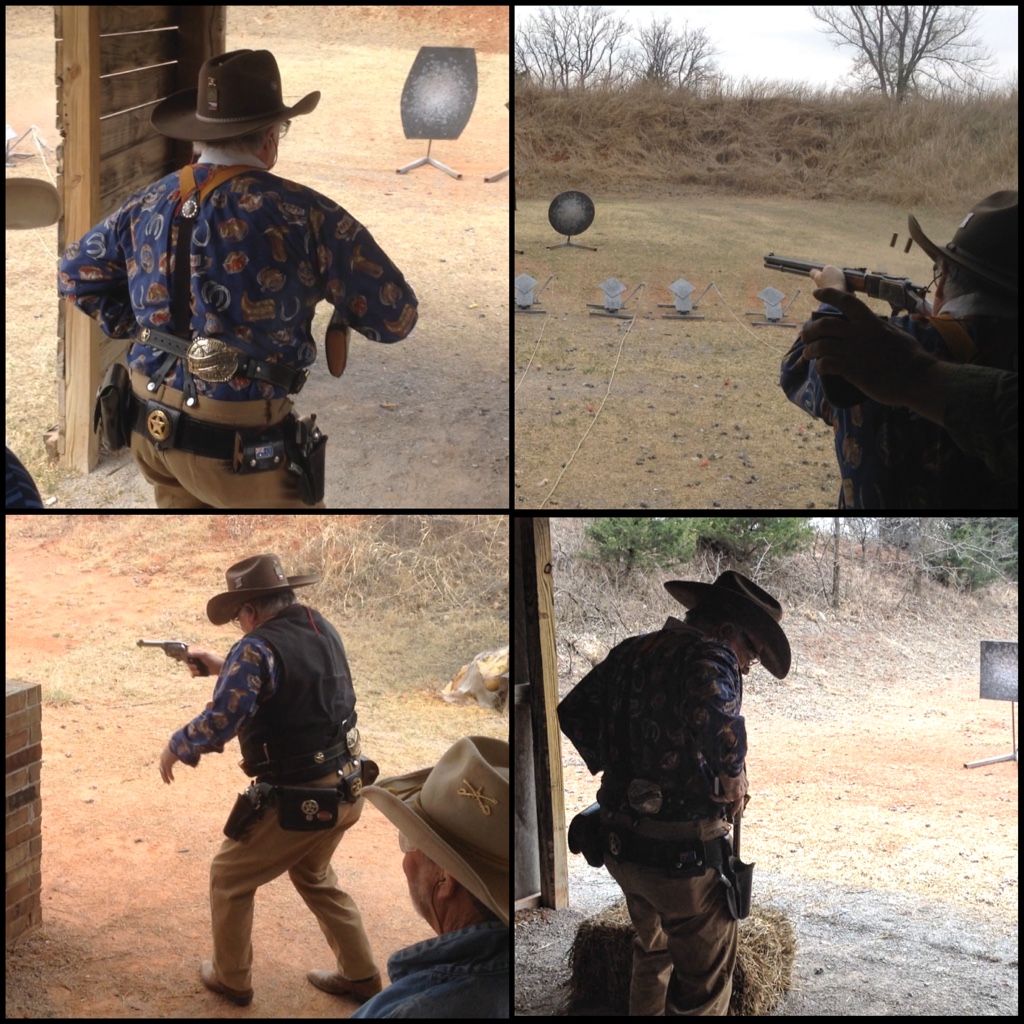
We were into it on Day 2, with a stiff cool 20mph wind hitch seemed to get colder as we progressed through stages 2, 3, 4, 5 and back to 1 before the sun decided to come out and stay out. However, we were much better off (extremely!) than those that decided to attend the Nebraska State match!
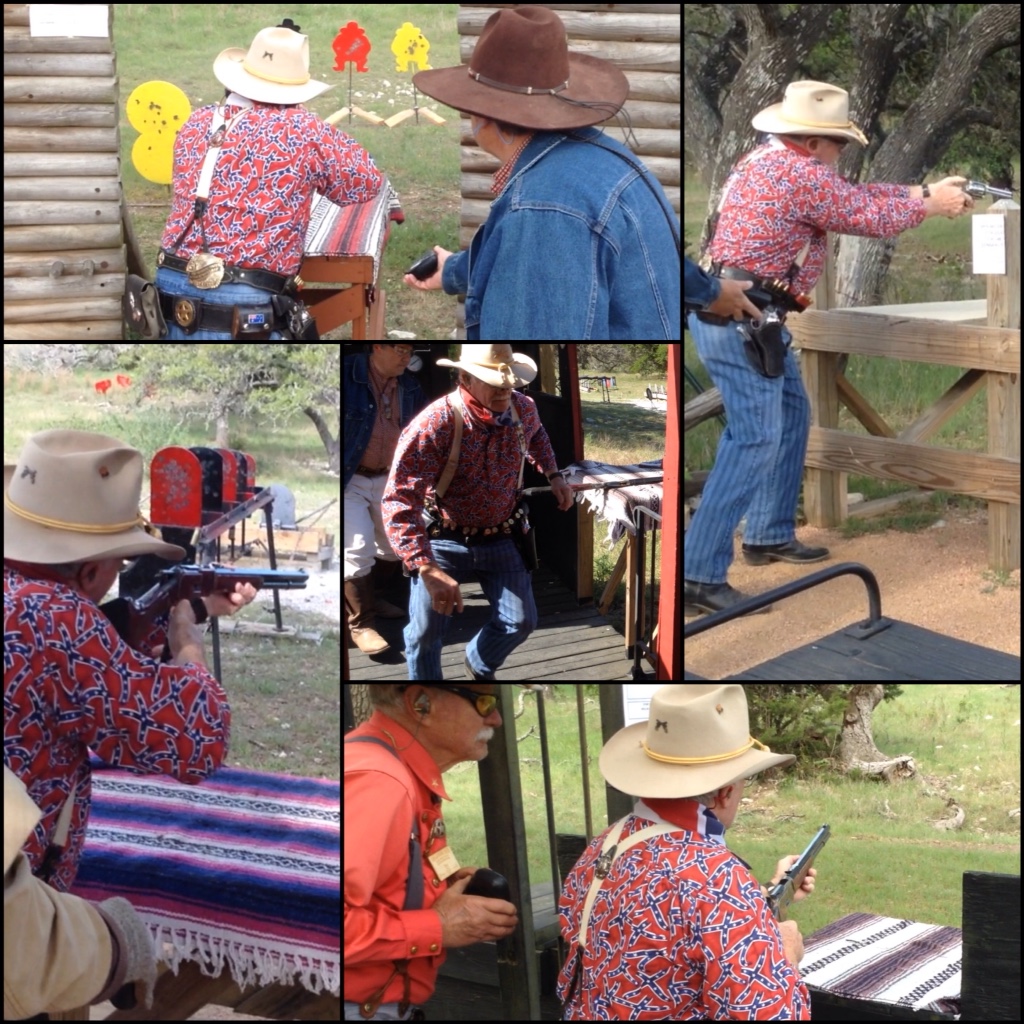
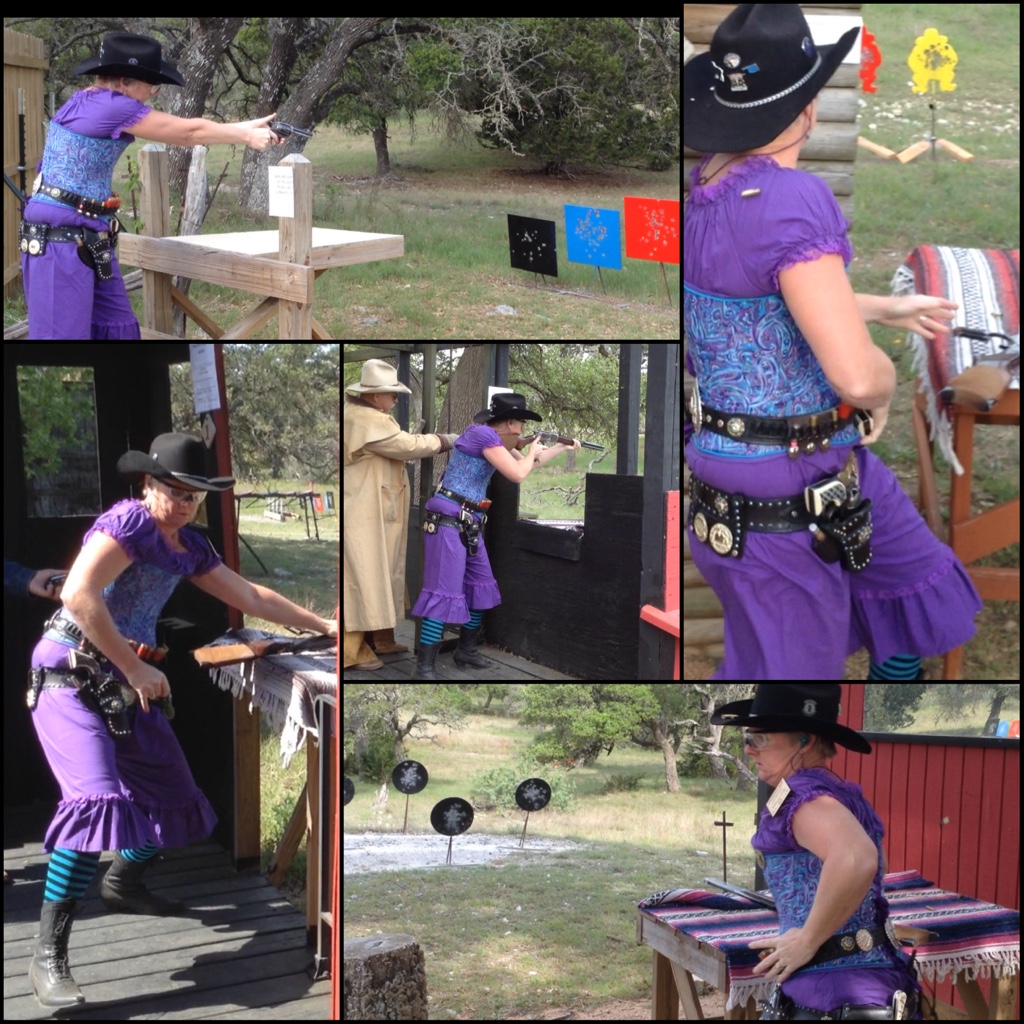
Jack had a few unfortunate events during this half of the match and I finished strong with a clean match. It was now up to score tally's to see where we placed overall.
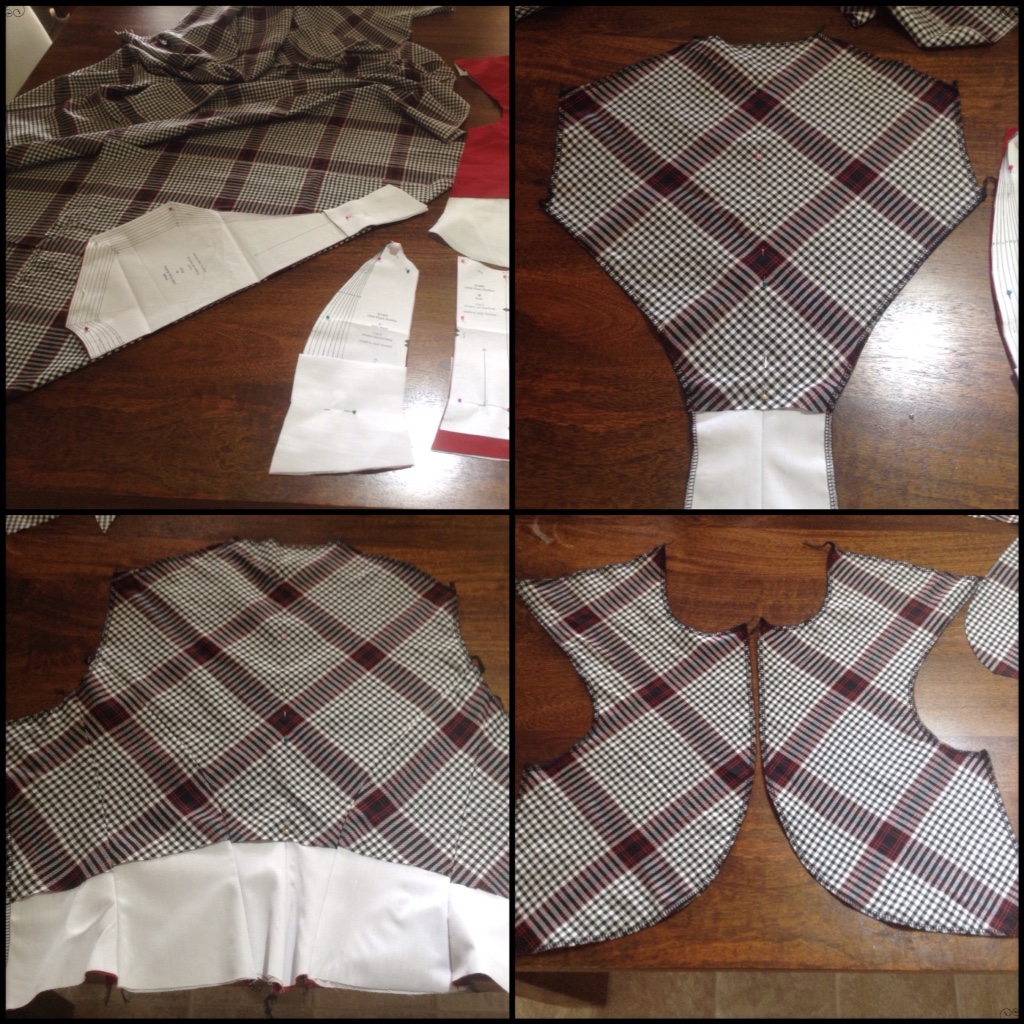
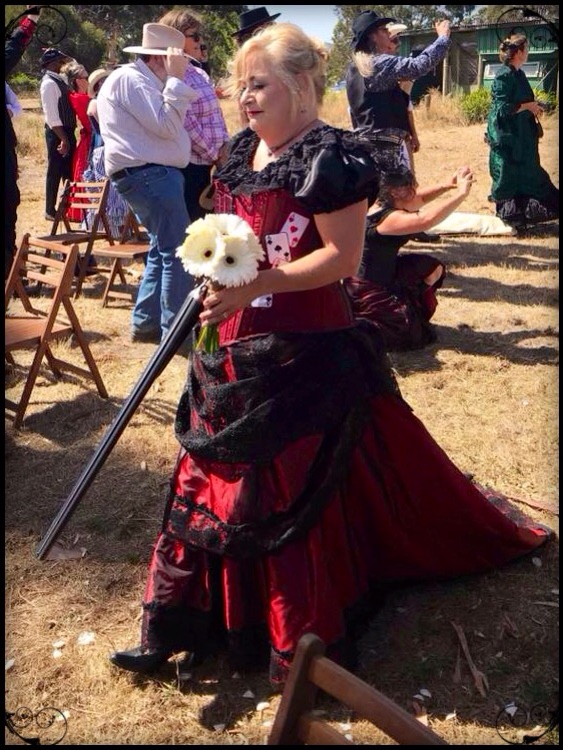
The banquet was held at the Lady Bird Johnson Pavillion, costume contests were held and awards presented. Congratulations to all who entered and those who placed, there were some great costumes and many good stories. (I'm still giggling about Scarlett Mascara and Rhett Valet!! Very clever Hawkshaw Fred and Annie D Vine with your skit!)
It was on to prize drawings, giveaways and awards! To everyone that participated I hope it was the match you were wanting and you finished well.
Jack finished 6th in his category, congratulations to his fellow Silver Senior competitors, 9th , 8th , 7th , 5th , 4th , 3rd , 2nd and in 1st place and the 2018 Texas State Champion – Aberdeen.

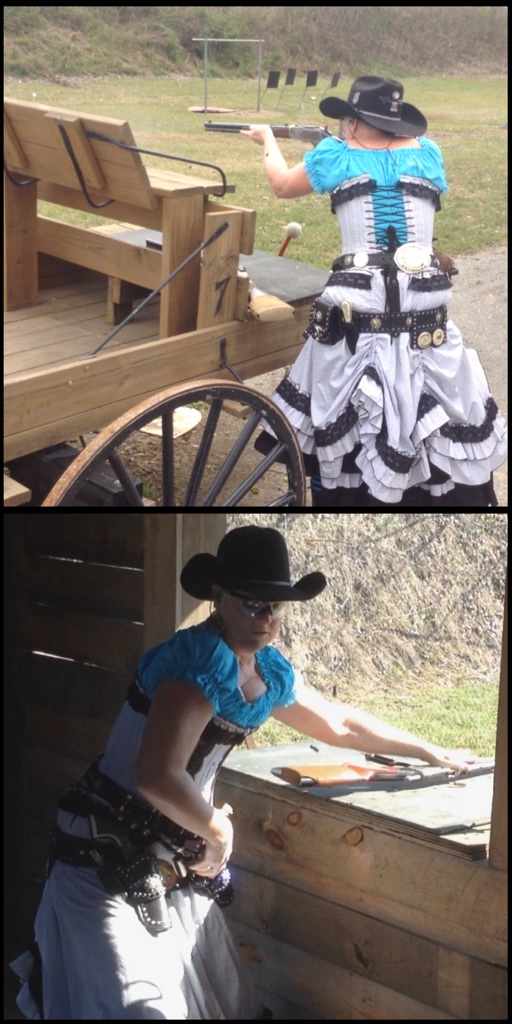
Congratulations to all my fellow Lady Wrangler competitors. In 4th Okie Fenokie, 3rd and the 2018 Texas State Champion is One Chance Fancy, 2nd Misty Moonshine and 1st was myself.
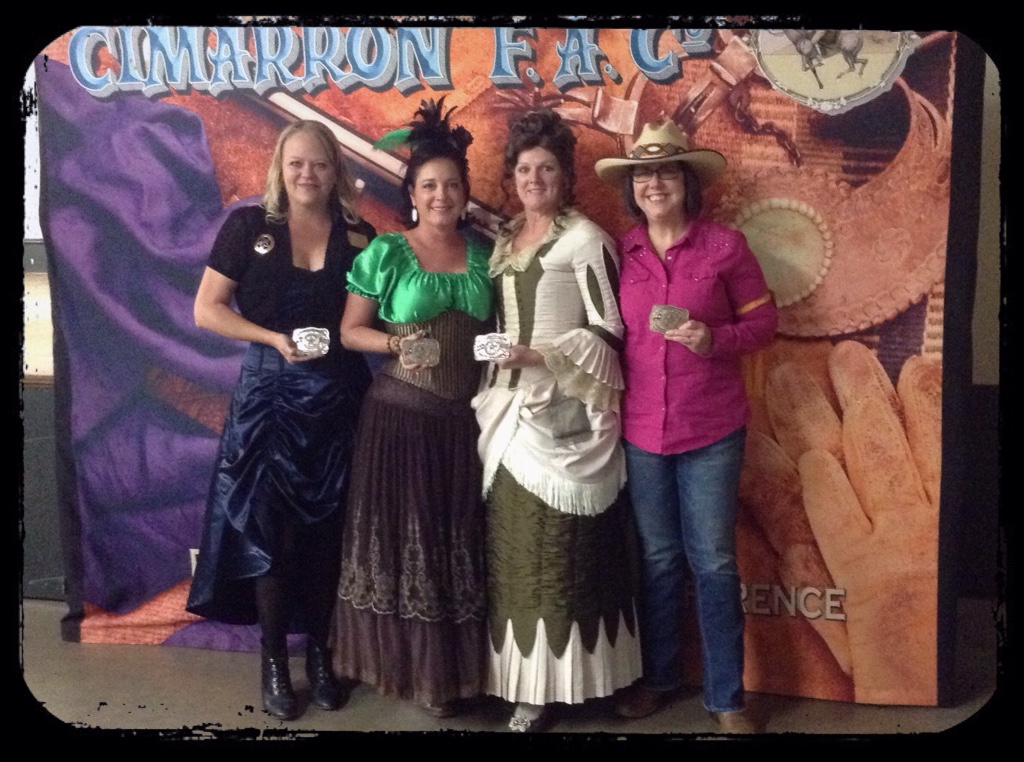
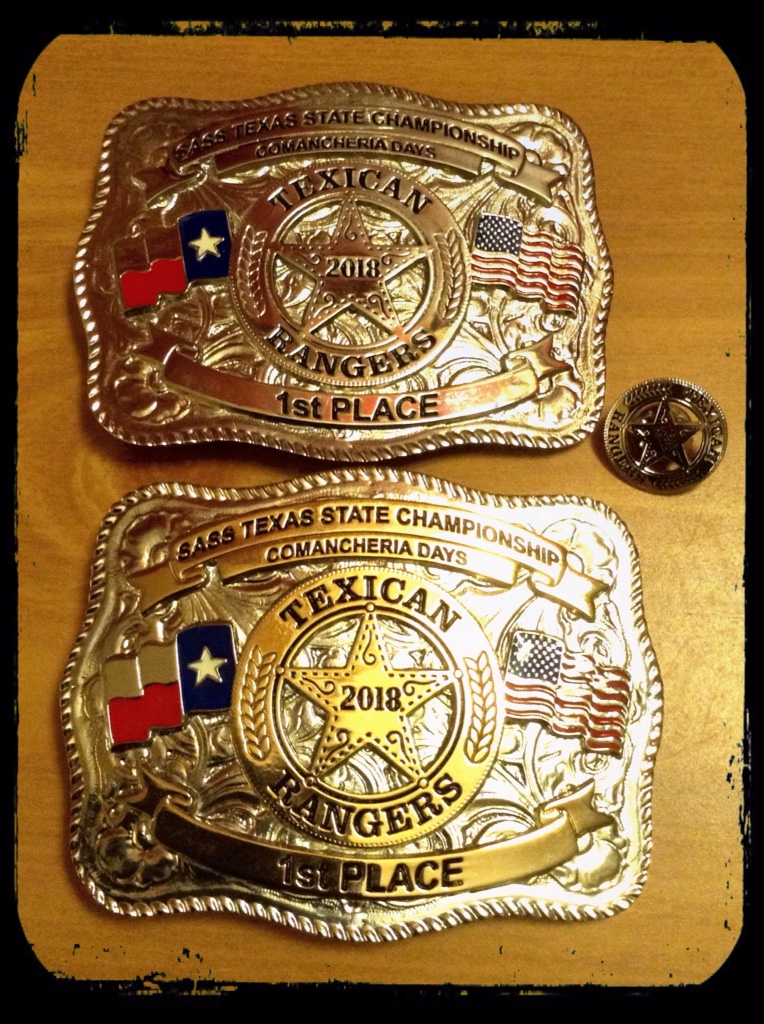
I finished 1st lady overall and 6th overall from 318 shooters. Was very happily surprised to hear my name in the top 10!
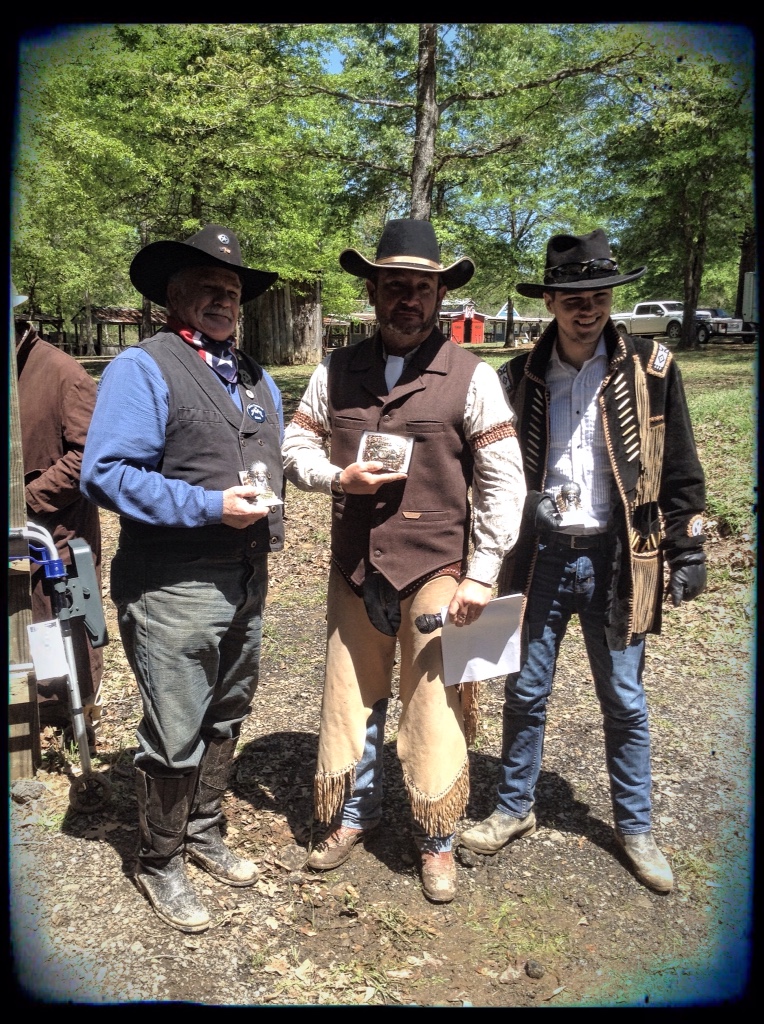
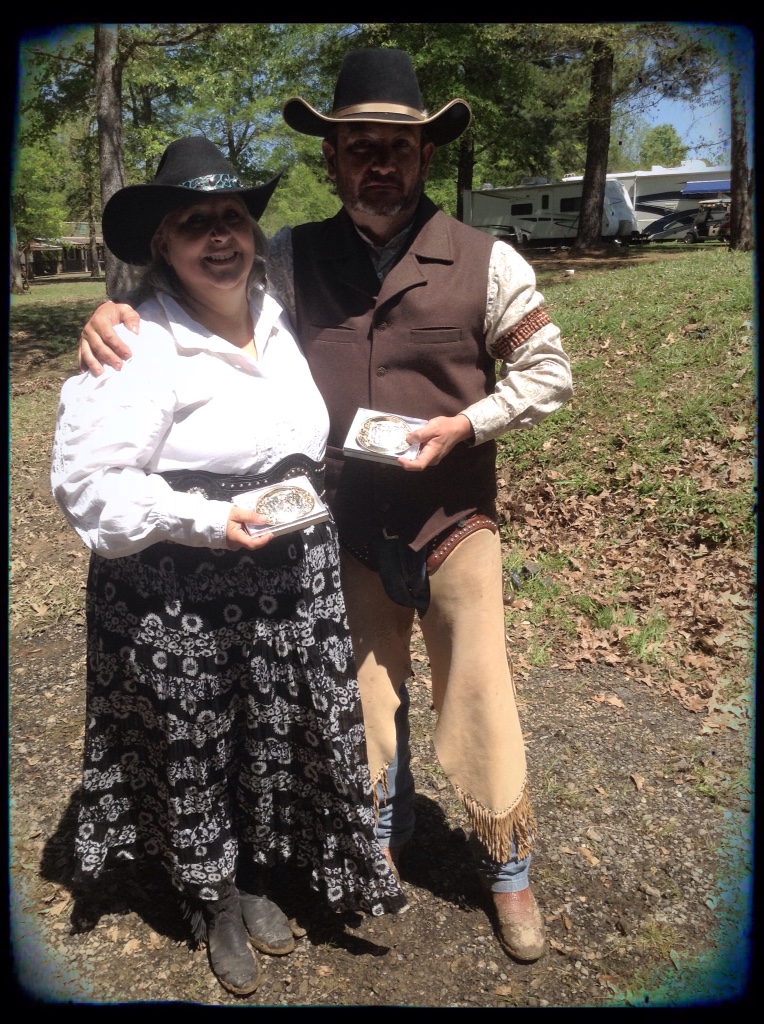
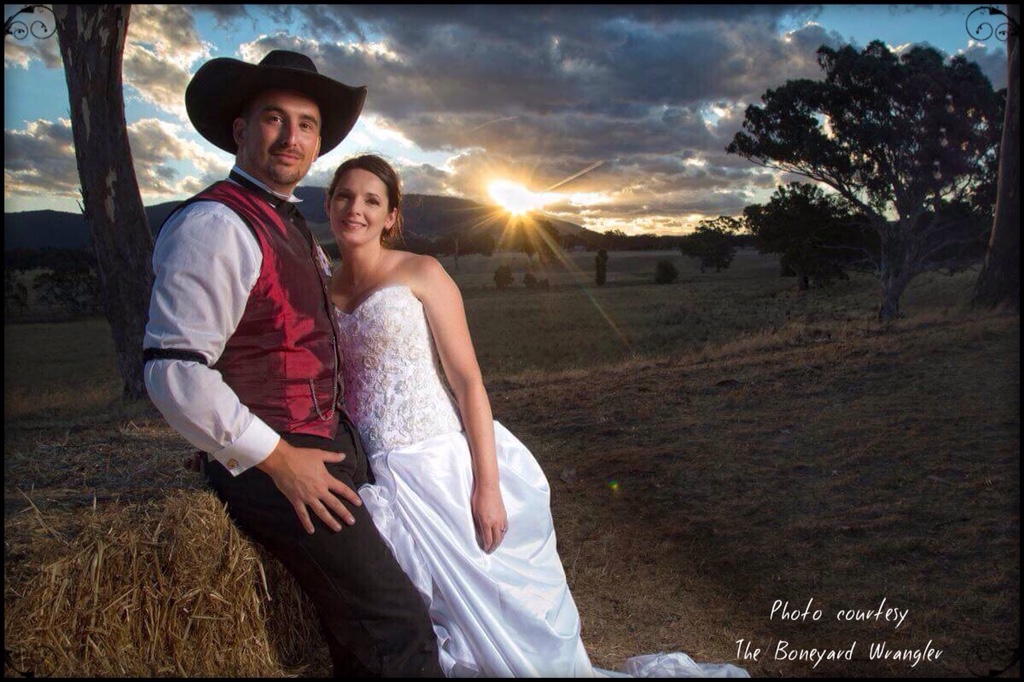
Jack was also awarded 1st overall out of state champion at 36th place, so he was pretty pleased that we were able to have a photo together.

Congratulations to the 2018 Texas State Champion's – 1st overall men's Matt Black and for the ladies Panhandle Cowgirl.

A huge thank you to the Texican Rangers for hosting another fabulous Comancheria Days!
Kat xo