Diary of Desire Pt 2

It certainly has been a long time between journal entries for this one, however, it is moving forward.

The sourcing of fabric was eventually done and had to fall back on gorgeous faux silk taffeta from Bangkok Thai Silk. I have found the silks and other fabrics in the past to be of excellent quality and good pricing.

With samples having been sent off to Texas Flower the choice was made to go with a blue teal and creamy gold. The royal blue was a little too dark and I just couldn't find that elusive powdery blue that I really wanted.


Cool! Fabric ordered and arrived.


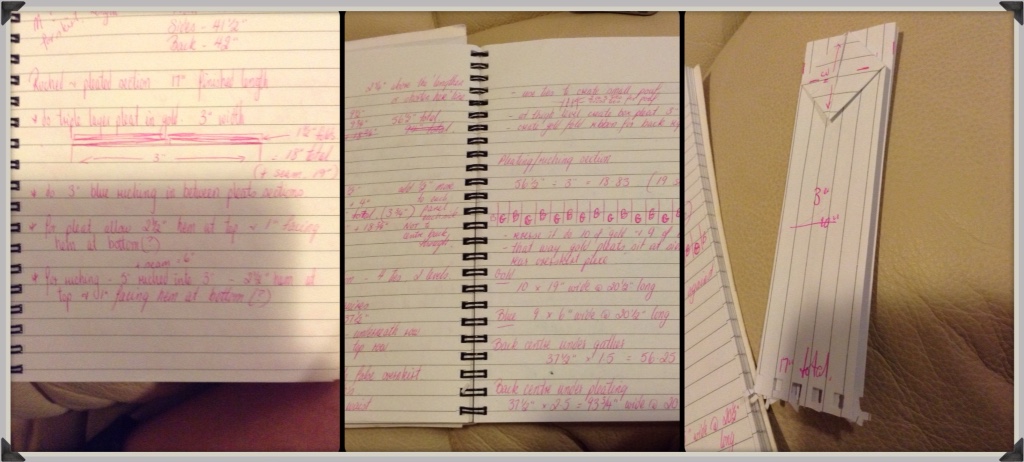
Now the February challenge for Historical Sew Monthly was pleating and the furthest I got with this during the upheaval of false surgery starts and eventual surgery for Jack was writing 3 pages of notes, working out depth, widths of pleats, where to join, how much fabric etc. so technically I somewhat completed that task.

Skip forward almost a month – clearing other 'simpler' work – and we have arrived at actual commencement of construction.

Step 1. Check all measurements and re-read pink ramblings in book. (Pink pen? Really Jo?)


Step 2. Clean table and commence cutting of fabric. Cutting main body of skirt and pieces for gathering and pleating.


Step 3. Just because it used to be done back in the 1800's and because now I would know it wasn't more authentic if I didn't do it properly, hand stitching hem facing to bottom of skirt front and sides.


Step 4. Toss up whether to do gather sections and pleats separate and then join………hmmmmm, nup, think I will join them all first. Pin ready for sewing.

Step 5. Brings us to today, Tuesday 29th, stitch all sections together, stitch hem facings to back gather section and pleat section and all 19 front panels.


Step 6. Hand stitch hem facings down. Back sections done (2.5metres) now to do the front – approx 6metres!! Yes I did say hand stitch.

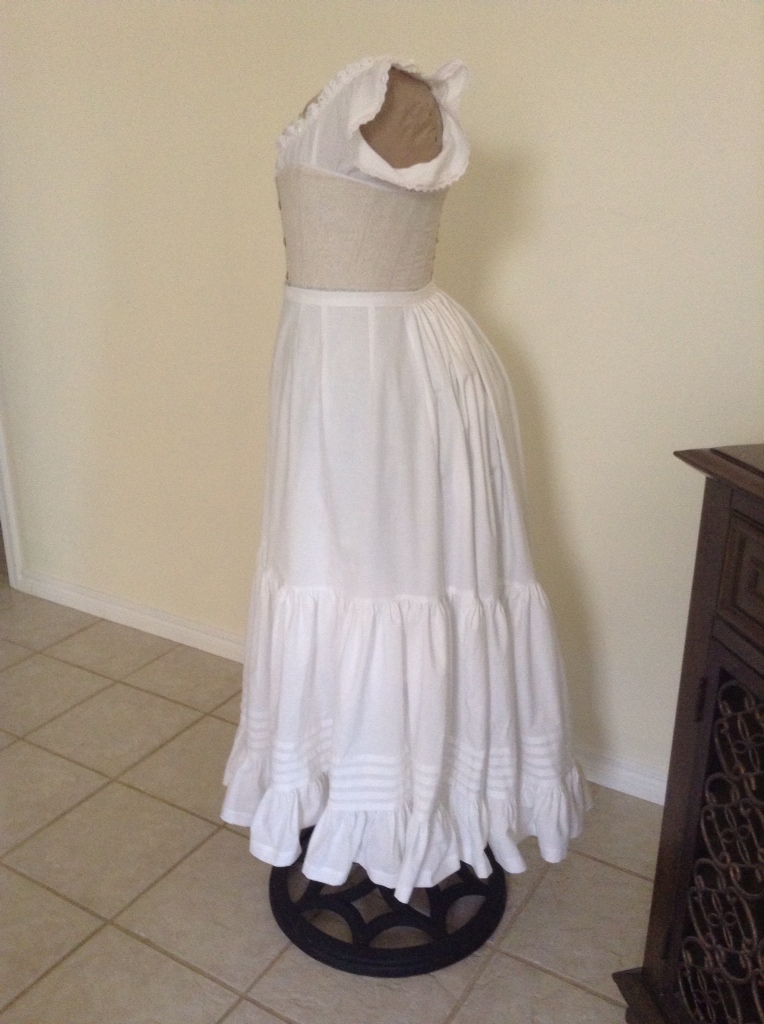
Now I've mentioned a back gather section and pleating. A quick glance at the photo and you'd be forgiven for saying, 'what the hell are you talking about?' But on closer inspection I realised that there is indeed an under section, just in blue, of a gathering layer and a pleated layer. Of course I can't leave it out, it's there so it has to be done.


Anyway this is where I'm at with the lovely Texas Flower's dinner or reception gown. Still trying to find more information or museum critique to know exactly what it would have been worn as.

Time so far – 13 hours

Needle and thread are calling me!

Kat xo

P.S. If you click on 'journal entries' above it will take you to Pt1 in case you missed it. 😉


Half A Day Hat

I took an online class back in January? Or earlier to make an 1880's Bustle Era Hat with Historical Sewing. Well never did get it done but kept my resources so I could get round to it one day.

Well the day has come, I needed a hat for my new Victorian gown for End Of Trail next week and ta dah! Have done it!

A half a day studiously working away, hand sewing every piece into place while watching re runs of Justified Season 3 and I now have my first hat!!

Thanks Jennifer (from Historical Sewing) your instructions are so good I was able to get it done!

For information about Historical Sewing classes go to their website, you will find heaps of interesting facts, techniques and online classes.

http://historicalsewing.com

For millinery bits for this project – Hatters Millinery, Melbourne Australia

http://www.hattersmillinerysupplies.com.au/on/millinery-supplies/

Cheers

Kat xo


What’s Under Your Dress?

I can't help it but wear the appropriate undergarments when dressing in my Victorian gowns. You just can't do it any other way!

I first learnt from 'Clancy' (First lady I shot with, my friend, a Margarita Sista and my one and only Redneck Sista) about what goes into dressing like a lady, I have since experimented with different patterns etc for my gowns and am getting to find the ones I really like.

I've used a Laughing Moon pattern, a Buckaroo Bobbins pattern and now have tried the Truly Victorian undergarments pattern. I really like this one even though I made mine fairly plain compared to my Buckaroo Bobbins set, they feel really comfortable and I like the little capped sleeve look.

This is the Buckaroo Bobbins ones, yes I use them to shoot in too and have cream, navy and the white set for under gowns also has embroidery done on them as well. These ones have the gusset stitched up though for shooting!!

I decided that I wanted to learn more, you can never get too many tips right? So I found this amazing website Historical Sewing by Jennifer Rosbrugh.

I have learnt some nifty little tips for trim, the ever elusive how much do I need when making ruffles – very handy, and then other things it was like, yep, I do that already and could just crack on with what needed to be done.

I am looking forward to going through the making of hats though!

Any way a bit side tracked there, here are the current version using TV patterns, undergarments, imperial tournure and petticoat.

So now “Kat the 2nd” is ready for the next gown in the making!

Have other orders to fill before that, soon, very soon you will see them in the making ready for Helldorado Days!

Kat xo

For more information about above mentioned sites, patterns etc click on the links below.

http://historicalsewing.com/category/sewing-tips

https://www.trulyvictorian.com/xcart/shop_closed.html

http://www.buckaroobobbins.com

http://www.lafnmoon.com