Yes, it appears the 'inner 15 year old child' managed to work it out as per the books instructions. Although one instruction wasn't adhered to and had to correct the error of my ways, thankfully still at the lining stage.
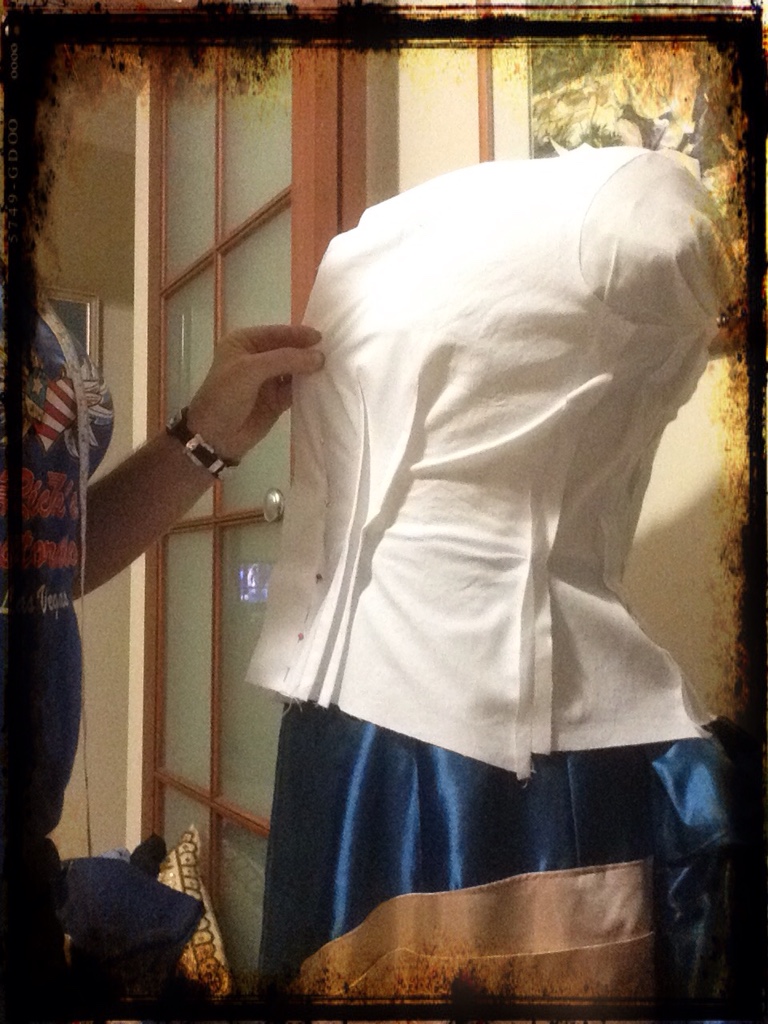
Everything seems to be sitting just perfectly except for one slight alteration needed at the back neck and shoulders. Got to be happy with that!
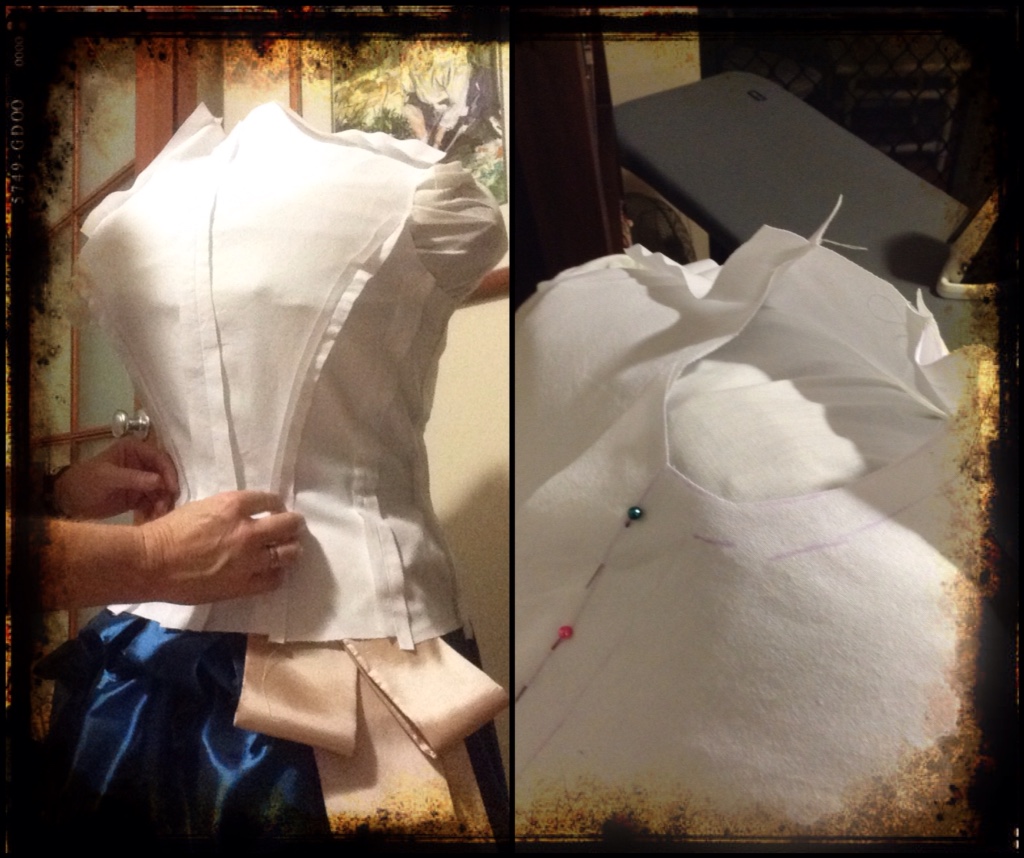
Here in lies the mishap! See how the front seems high?
Well, refer back to said instructions and previous shown photo of drafting and as I was told to – “add 7″ to the front skirt following dart allowances etc”. As you can see I felt in my, somewhat older than 15 years, that this seemed a little ridiculous (despite having drawn it up as instructed) when the rest of the bodice was only 5″ from waist to edge and so cut it off 2″shorter. The result? A bodice that's too high in the front and doesn't look right.
Right, stitch that bit back on and thankfully almost nothing of the join is to be seen once sides are trimmed to suit and once facings are in place all is concealed. Shhhhh!
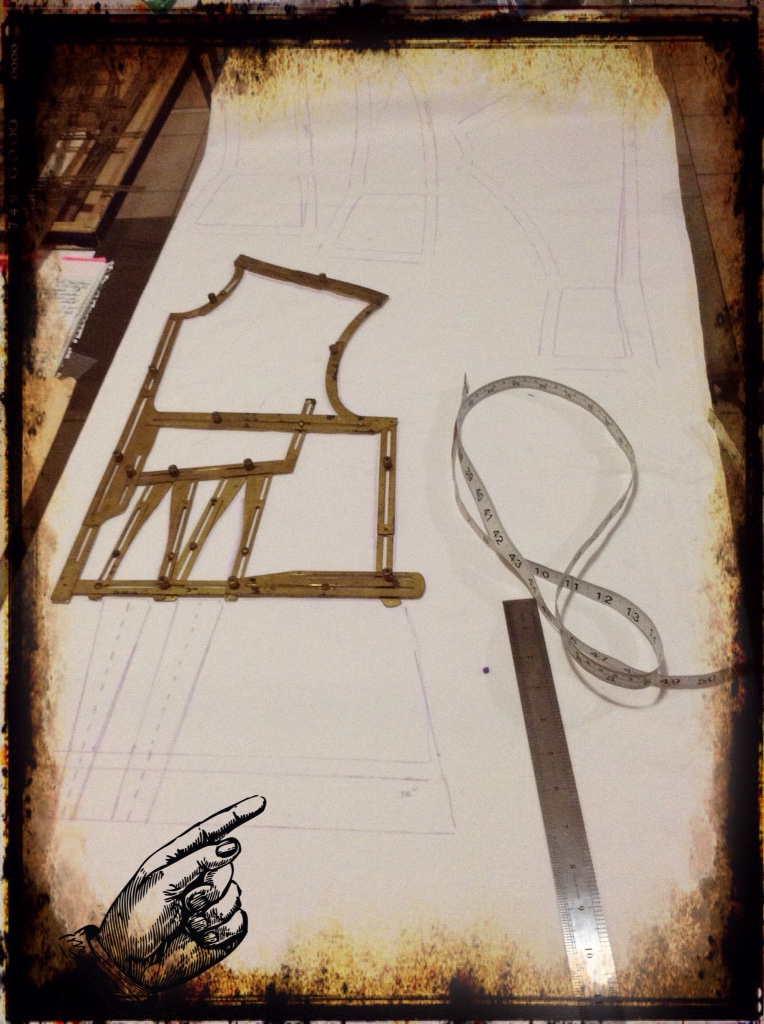
Then it was onto the sleeves. Now in one mind I was tempted to use a Truly Victorian sleeve pattern but I had decided this gown was to be done using the drafting machine and this would surely be cheating. The book specifically details how to draft sleeves from measurements using the square rule.
So yes! I did draft the sleeve using the detailed square. Much to my surprise and sheer delight it worked! All I really needed to see was that it looked like I knew it should be!! Bit hard to see in the pink pen.

Next step was to pull apart the lining and cut each piece from the fashion fabric and reconstruct. With this now comes the customising – making it look like the photograph of the original gown.

You will note now the front is a sensible length? Lol! Sides to be trimmed.
Next step. Let's have a look back at the original bodice. Oh yes, tabs across front gold ruched section. Hooks and eyes all down one side for the bodice to be closed, so a small gold panel is put in place.

So far so good me thinks!

Take one gold ruched panel 12″ down to 41/4″ stitched in 4 places. Pin to inside right. Excited much!
Collar appeared to be slightly curved and lined in gold so that's what we now have.

Facings have been stitched in ready for hand finishing and that my friends is where it has been left.
Sleeves to be completed back in Oklahoma and embroidered lace to be created.
Cheers
Kat xo
P.S. Internet back on and back in Oklahoma. 🙂

Kat you are so creative. Beautify garments.
Thanks very much Pamela.